The joy of handmade

Nothing beats making something yourself. The sense of accomplishment alone is rewarding enough. The time and effort you put into a creative project is worth it because not only have you created something with your own hands but you have also developed your skills. Every minute you spend on your hobby you are improving and honing your skills.

Being creative and enjoying your hobbies has a positive effect on our mental health. It lowers stress and increases feelings of self worth and self confidence.

I’d love to share with you this project I recently completed. For those of you who don’t know I have a passion for crochet. I tried a new crochet pattern and I modified it slightly to create this super adorable Santa Hat bralette.

Crocheted Santa Hat Bralette Handmade By Queeenvk. Crochet pattern modified from https://www.ravelry.com/patterns/library/muy-caliente-bikini-top

I made this bralette top in a size small but the straps are long enough to fit a medium too. The cups fit a C-D. Feel free to send me a message to order a custom crocheted bikini top, or something else that you might need. I also have a passion for making weighted therapy items so reach out to me if you are interested in ordering a crocheted commission piece from me.

Please check out my online store with some of my crochet creations. My repertoire ranges from small stuffed toys to large ottomans. Bikinis are relatively quick to crochet but cardigans are slow going, just to give you an idea.

Thank you so much for your support. You can find me on Instagram and YouTube by searching for me, Queeenvk.

Advertisement

Crafting People Are Happy People

How good is it to just sit back for a relaxing crafternoon (crafting in the afternoon)? It feels so rewarding when we finish a project and stand back to admire our handiwork, so it is no surprise to hear that there are emotional and neurological benefits of learning a new skill and letting your creativity loose.

Scientific research shows that crafting lowers stress and can help reduce feelings of anxiety. Levels of the stress-hormone cortisol decreases during and after performing creative craft activities.

While you’re crafting you are connecting to the present world around you instead of being stuck in the worries of the past or future. Your brain power is taken up by something far more productive and useful for your health. Some people use art as a therapeutic or meditative process to clear and calm the mind.

Inventing new ideas and exploring old ones in a different way can be so rewarding. It brings on those feelings of self accomplishment as well as expanding your mind to see new perspectives.

You’ve probably heard that doing crossword puzzles staves off dementia by helping keep the brain active. Basically, when you don’t use it – you lose it, so if you’re making new connections in your brain you’re keeping it active. Whether your hobby is crossword puzzles or creating a new piece of art, you are keeping those neural connections in working order.

There are many different types of crafts that are available for you to try. Find one that resonates with you and practice it, letting your mind flow with creativity.

My favourite craft at the moment is crochet. It took me a bit of practice, but once I got the hang of it, it just clicked for me. The repeating movements are quite soothing, as long as you take breaks to rest your hands! Here are some of my previous posts related to crochet crafts.

Here is a list of some other crafts you might like to try, maybe there are some you’ve always wanted to try or maybe you will find something new that you never considered before:

Origami/paper art

Painting

Sewing/needlework

Yarn crafts such as knitting, macrame, etc.

Scrapbooking

Lettering/calligraphy

Clay sculpting/pottery

Resin pouring

Flower pressing or flower arranging

Origami cranes

Reply in the comments with the crafts you love and the crafts that you’ve always wanted to try. Which crafts interest you and which crafts have you tried but didn’t like? For me, I’ve tried sewing and embroidery but they are too complex and confusing for me to grasp, whereas crochet clicked in my brain and I understand it a lot easier. Isn’t neurology so fascinating?!

Please visit and subscribe to my YouTube Channel for more from me, QueeenVk. ❤

Crafting with a conscience

**List to me read out this post on my Podcast instead! Click here**

Mindful crafting is a great way to enrich your creativity and exercise other parts of your brain. And besides, craft supplies are so colourful and fun. They are enticing. Winking at us from the art aisle. Although, how much do we know about the ingredients of the paints, pigments and glitters we buy? What effects do these non-food safe ingredients have on our environment or on us and our families?
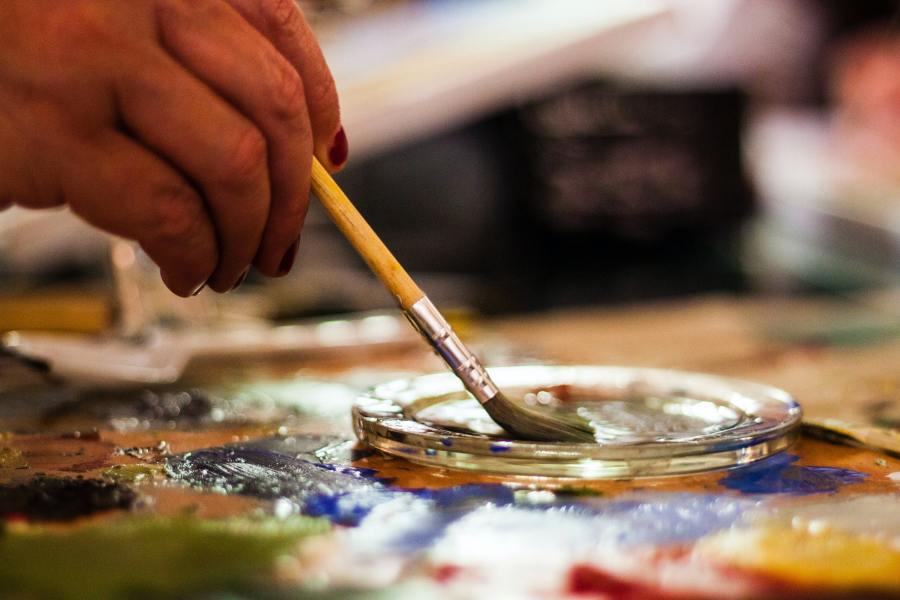
Oil paints

Some oil paints are toxic because of the heavy metals used in some of the pigments so try not to eat them. The label on the paint tube will indicate whether it contains toxic chemicals. Other toxic particles that can be inhaled as the paints dry are called volatile organic compounds (VOCs). The effects of VOCs include respiratory irritation, headaches, nausea and they can trigger asthma attacks. For example, an increase in VOCs leads to reduced air quality. Picture in your mind the worst air pollution of a city. Smog is basically a bunch of VOCs polluting the air. Note that there are different types of VOCs and not all are considered hazardous. However paint and solvent fumes are in the hazardous column.

Disposal: You will need to be careful about disposing of your excess oil paints to avoid them polluting the environment. Oil-based paints are considered hazardous waste in many areas so they need to be taken to a household chemical waste collection point. Contact your local council for details on where to dispose of hazardous waste.

Oil paints are not water-based so they don’t dissolve in water, which is why you use solvents when working with oil paints and cleaning your painting tools. Solvents like paint thinners are considered hazardous waste so they cannot be poured down the drain, in the garden or thrown into the general waste bin. Contact your local council to find out where to dispose of hazardous waste.

Acrylic paints

Acrylic paint is water-based so you’ll be using water to clean your tools and thin the paint.

As with oil-based paints there are some pigments in acrylic paint that may be toxic. Check the labels on the paints for warnings of harmful chemicals. If the label says non-toxic then it doesn’t contain any heavy metals in the pigments. But it also doesn’t guarantee that it’s totally harmless. There are other components of the paint, such as binding agents and additives that produce VOCs and are harmful on skin.

Disposal: Don’t pour the paints down the drain or in the garden as they contain chemicals that are hazardous to the environment. The water that you rinse your paint brushes and tools in can be evaporated and the vessel can be discarded in the general waste. Extra acrylic paint can be dried and thrown in with your general waste. Pouring old paint sludge down the drain is a bad idea because it will cause blockages to build up in the pipes.
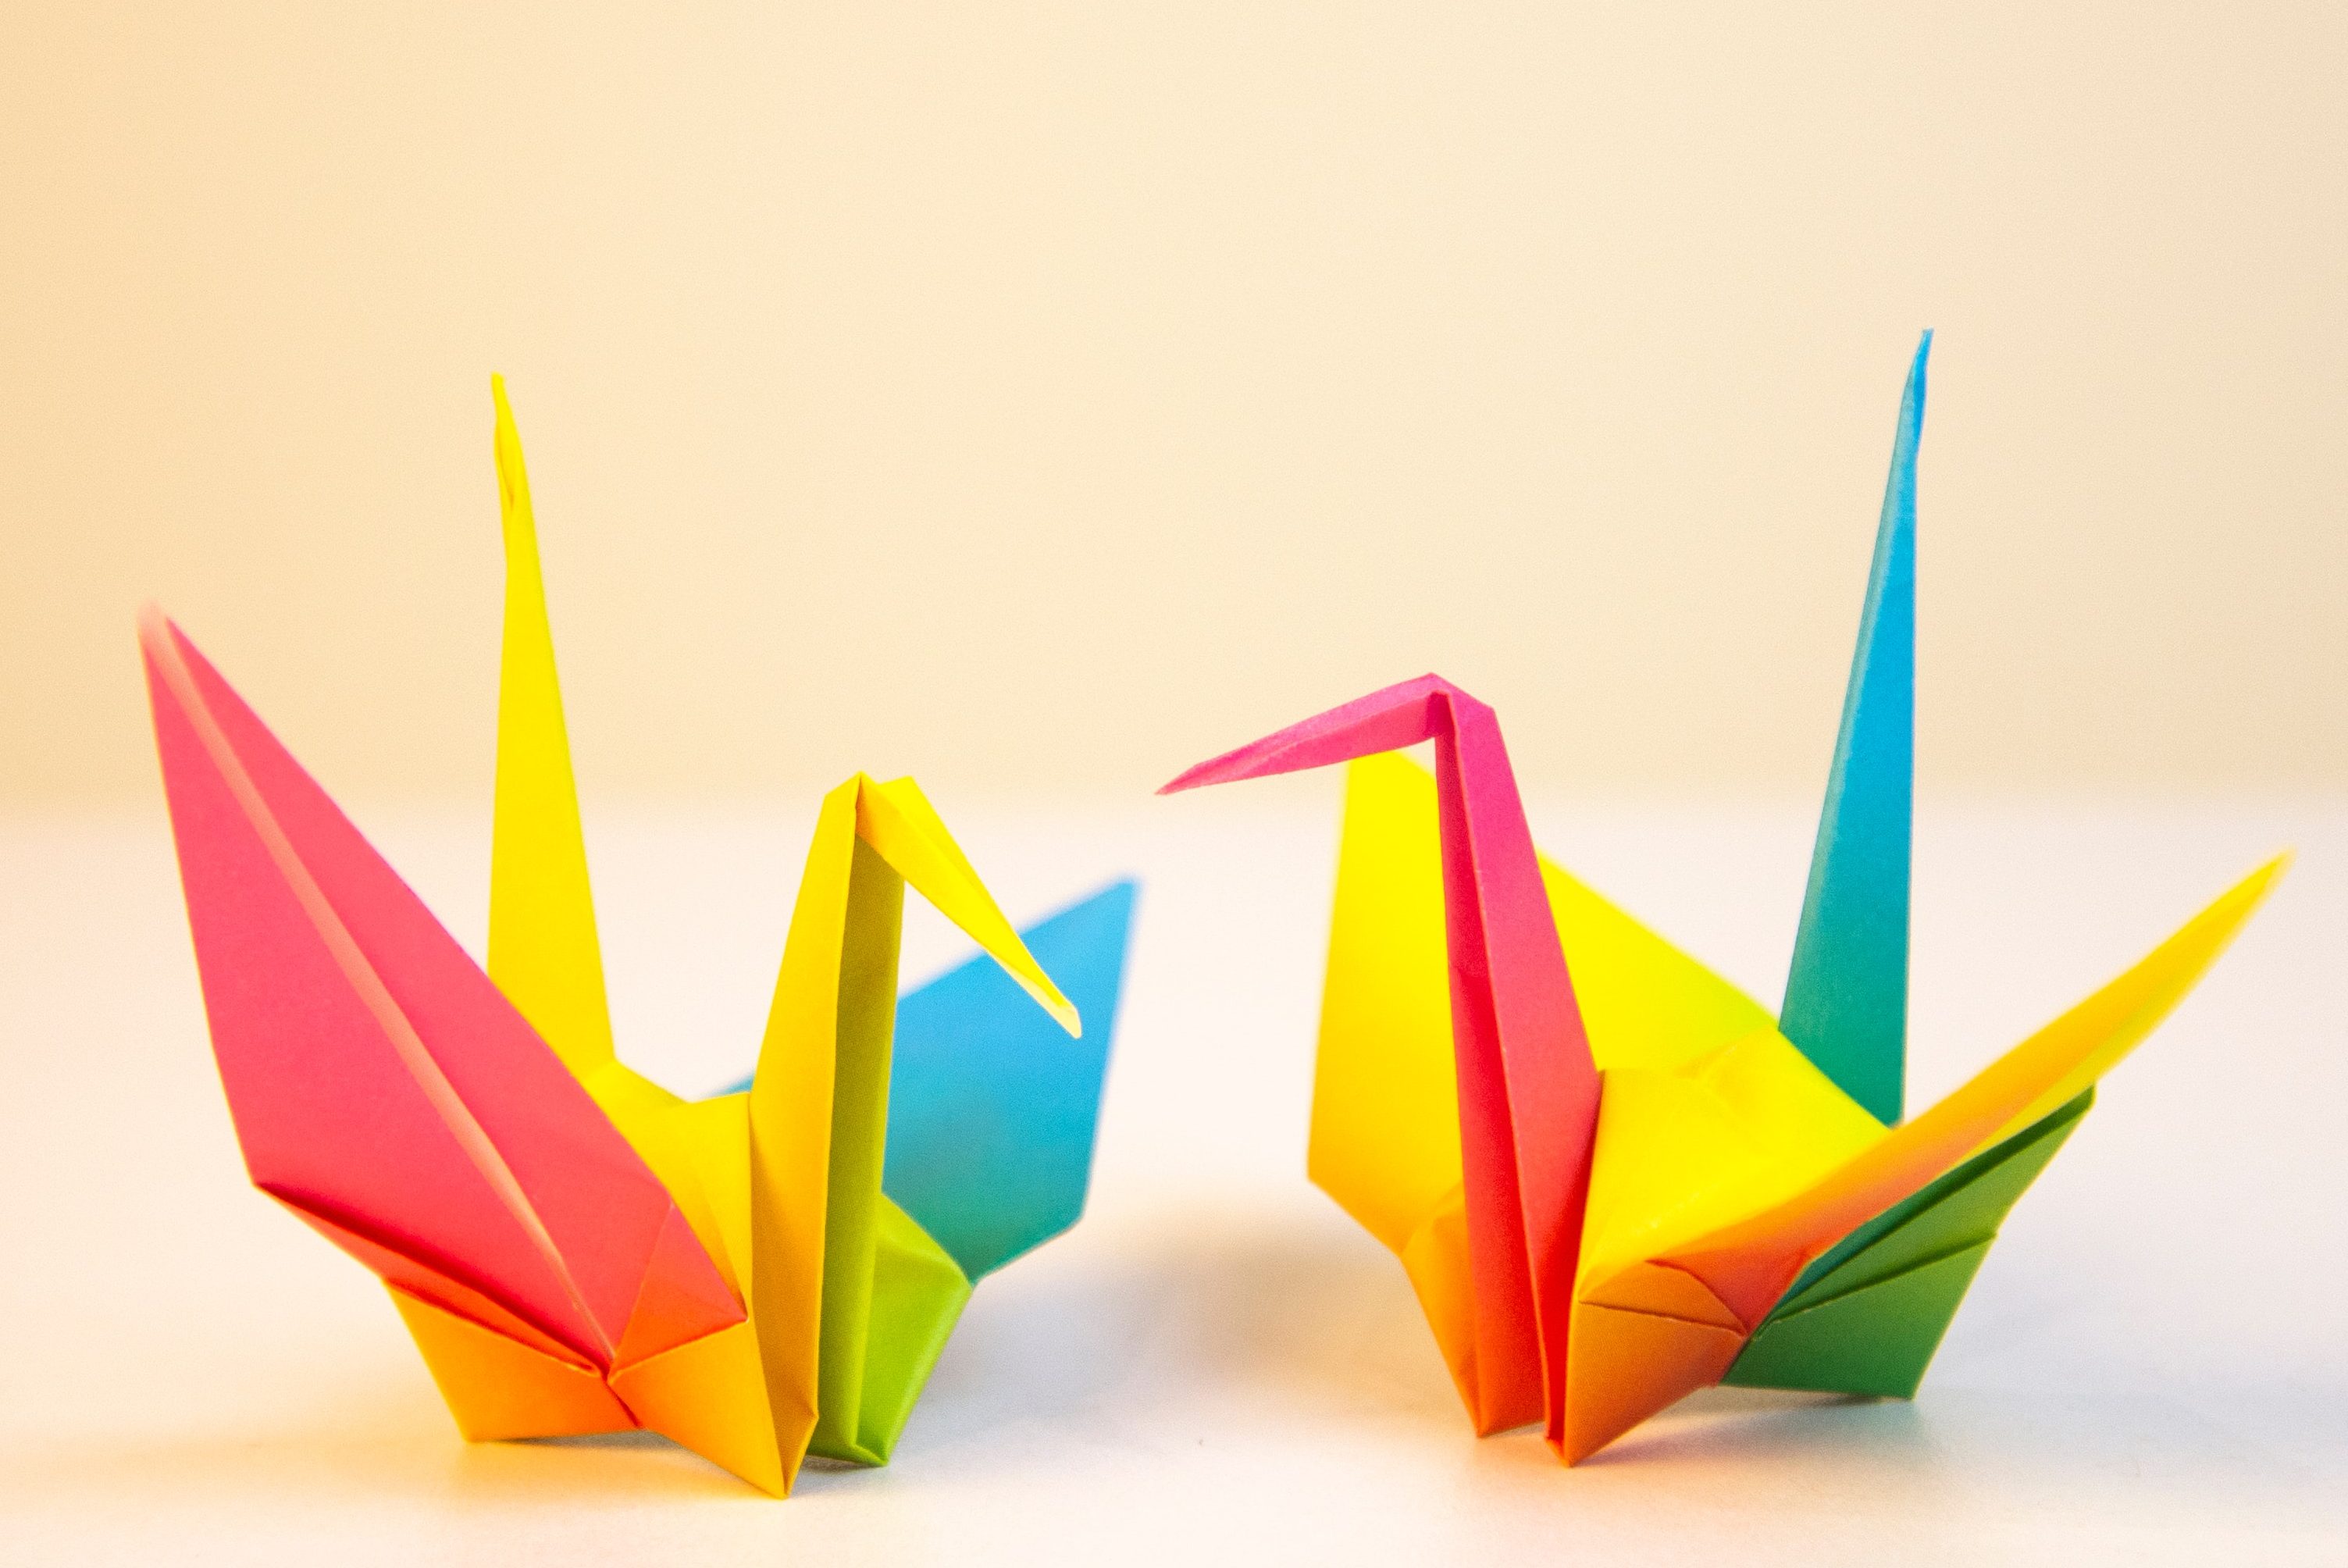
Glitter

The teeny tiny sparkly pieces of plastic that make up glitter are also known as microplastics. Microplastics and nanoplastics are pieces of plastic on the micro and nano-scale that have been made, either on purpose, or by nature of errosion from the breakdown of larger plastics. Read my post on microplastics to find out how they’re affecting us and the environment. Spoiler alert: microplastic pollution frightens me; The sheer amount of it, the chemicals that leach from it and their effects.

Disposal: To prevent your glitter from polluting the environment the safest way to dispose of these microplastics is in a sealed container in your general waste. The small particles cannot be recycled. Any cards or paper wrapping with glitter on it cannot go to the recycling bin either. Dammit, glitter, why you gotta be so evil?

Crayons

Crayons are often made of paraffin wax which is made of fossil fuels. Paraffin wax can emit VOCs when you burn a paraffin wax candle but the jury seems to be out on the toxicity of paraffin crayons. Many sources claim that paraffin wax crayons are non-toxic but they are made from toxic chemicals so they may decompose back down to these toxic components.

Harmless crayons can be made with soy wax or beeswax.

Disposal: Crayons are recyclable. You can use your oven to melt down old stubs into new crayons. There are also council collections that will take old crayons. Or you can donate unused crayons to schools or daycares.

Thanks so much for joining me today. Check out my YouTube channel Queeenvk for more Full Cup Wellness.

Keep your cup full!

Crochet For Absolute Beginners: Sculpting With Yarn

Working with just a crochet hook and a ball of yarn (or 5) you can create many different textures and shapes in your very own crochet project.

There are different parts of the stitch in which we can work into. This causes the yarn to be pulled in different directions so you can shape your work into whatever design you design.

Working into the post

You can crochet a stitch around the front of a post of a crochet stitch. Or you can crochet around the back. When reading a crochet pattern these stitches are called Front Post and Back Post crochet. Normally this term is abbreviated with the type of crochet stitch, for example, a double crochet stitch worked into the front of a post in a stitch is called FPDC. Similarly, we can have back post treble crochet written as BPTC.

Front Post Double Crochet (FPDC)

Working into the post of a previous row of double crochet (US terminology from here onwards) can be done around the front of the work. In the video below I show how to do a FPDC. My YouTube video explains in detail how to make this stitch.

Front Post Double Crochet

You make a FPDC by putting your crochet hook through the post of the next stitch from the front of the work.

Back Post Double Crochet (BPDC)

Working from the back of the work you can make a stitch around the back of a double crochet post. Or a treble crochet post! In the video below I have done a BPDC. My YouTube video explains how to do it too.

Back Post Double Crochet

Insert your hook from the back of the work, through the DC post of the next stitch. Work the rest of the DC as normal.

Working into the front and back loops

Front loop only (FLO) and back loop only (BLO) stitches can create edges for your work to give it a 3D shape.

Front loop only (FLO)

The FLO and BLO stitches are super easy. Just work your next stitch into one of the loops at the top of your stitches. This can be done for any height stitch because you’re just using the top loops this time.

Back loop only (BLO)

Increases and decreases

Your rows and circles don’t need to stay the same size. To create shapes with your yarn and crochet hook you’ll need to learn to increase and decrease the number of stitches in your rows and rounds. Increases in a crochet pattern are abbreviated as sc inc for adding a single crochet stitch to a row. The stitch type is usually included otherwise it’ll just say inc and you continue using the same stitch as the rest of the row.

Single crochet increase

To increase a stitch in a row simply place 2 stitches in the same stitch. See my YouTube video for a full explanation.

Crochet patterns abbreviate decreases to Dec or Sc2tog which means single crochet two together. Or it’ll say DC or Tr depending on the stitch required in the pattern.

Single crochet decrease

To decrease the number of stitches in your row by 1 you will crochet 2 stitches together into 1. For a single crochet decrease: put your hook into the stitch and pull up a loop, don’t complete the stitch yet. Put your hook into the 2nd stitch along and pull up a loop, you’ll have 3 loops on your hook. Then finally pull up a loop through all 3 loops to complete the SC Dec.

Thanks so much for reading. Your support means everything to me. Sending my gratitude and kind thoughts to you all. ❤

Crochet For Absolute Beginners part 4: Continuing to crochet in the round

FYI: The video tutorial version of this post is on my YouTube channel here.

Welcome, please sit down, get comfy and join me for some more mindful crafting. Today we’re continuing to learn the art of crocheting a circle.

In part 3 of the crochet for absolute beginners series we learned how to begin a circle with yarn and our crochet hook. Now we need to learn the mathematical formula for creating nice flat crochet circles. If you have too many or too little stitches in each round you’ll end up with wonky bumpy circles that don’t sit flat.

The blue circle on the left has too many stitches in the round and is going bubbly. The red circle on the right has too few stitches and is becoming a bowl.

The mathematical formula to the perfectly flat crochet circle goes a little something like this:

For example, we begin with 6 stitches in round 1.

In round 2 we will need to increase in every stitch around. You now have 12 stitches.

In round 3 increase every 2nd stitch. Now you have 18 stitches.

Round 4 increase every 3rd stitch. 24 stitches will be in the 4th round.

Every round will increase 6 times so you will add 6 stitches in each round. If you begin with 8 stitches you’ll increase 8 times each round. That’s the mathematical pattern here.

Tips for keeping the right number of stitches

• Use a stitch marker to mark the first stitch in every round. Otherwise you’ll be constantly counting as you work and the chance of miscounting the stitches is too great! Trust me.

Types of stitch markers. You can also use a short piece of yarn that is a different colour to your work.

• Count your stitches at the end of each round unless you’re absolutely confident you did it correctly. Otherwise your subsequent rounds will all be off. You will notice your circle becoming more bumpy and wonky as you continue.

Thanks for reading my tutorial! It would mean so much to me if you could please show your support by subscribing to my YouTube channel.

Also please enjoy browsing my online store of handmade items. Contact me for commissions and personalised items.

Crochet for absolute beginners Part 1: how to begin a foundation chain

There’s a new video on my YouTube channel showing how to begin a foundation chain. I’m a left hander but I learned to crochet right handed so all of these tutorials are right handed. I tried to provide enough background information so that you not only can begin a crochet project but you can understand what you’re doing as you learn. I was disheartened by a lot of tutorials that relied on a lot of assumed knowledge in their videos. As an absolute beginner I was so lost and I quickly gave up relying on video tutorials. I had to first study the basics before watching seasoned crocheters try to remember what it’s like to be a beginner.

My first video was a bit dodgy because I’m nervous. I keep doing that thing where my mind tells me I’m doing everything wrong and I psyche myself out. I’ll try to film the second video today. Until then, here’s the link to the first video: https://youtu.be/58f4hh0LGMw

The basics

1. Make a slip knot

The easiest way to do it is with your crochet hook in your hand. Wrap the yarn around your fingers and pull the yarn from the ball through the loop you made around your fingers.

2. Holding the yarn

Keeping the tension is important if you want even sized stitches. Wrap the yarn around your pinky and then around your forefinger of the non dominant hand.

Wrap the yarn around your fingers to keep an even tension

Using your thumb and middle finger hold your work close to the hook to keep it steady.

Hold your work close to the hook

3. Yarn round hook

Wrapping the yarn around the hook in a consistent direction will produce consistent stitches. Unless otherwise stated in the pattern the yarn will always go behind the hook then wrap around and you pull it through the loop.

The yarn begins behind the hook…
…and wraps around so you can pull up a loop.

4. Pull up a loop

Pull the yarn through the loop on the hook.

One chain stitch is done.

One complete chain stitch.

5. Identifying parts of the chain.

Find the v-shaped stitches. Each v is a chain stitch as viewed from the top. There are 3 parts to a chain stitch and you can use the different parts to create certain edges at the beginning of the work. Just remember to always crochet into the same part of the chain stitch the entire way through otherwise the chain will end up bumpy and uneven. Also remember the loop on the hook isn’t a stitch yet. Your chains are the stitches next to that loop on the hook.

3 chain stitches and a slip knot that has been pulled tight.

Note that the initial slip knot does not count as a stitch in crochet. Pull this knot tight and don’t work into it. (This can get confusing for knitters as knitted work always uses the slip knot as a stitch!)

Thanks so much for reading, as always. I’ll be uploading the next video tonight so you can learn how to crochet into a row. Pretty please like this and subscribe to my YouTube channel queeenvk (with 3 e’s.)