

There’s a new video on my YouTube channel showing how to begin a foundation chain. I’m a left hander but I learned to crochet right handed so all of these tutorials are right handed. I tried to provide enough background information so that you not only can begin a crochet project but you can understand what you’re doing as you learn. I was disheartened by a lot of tutorials that relied on a lot of assumed knowledge in their videos. As an absolute beginner I was so lost and I quickly gave up relying on video tutorials. I had to first study the basics before watching seasoned crocheters try to remember what it’s like to be a beginner.
My first video was a bit dodgy because I’m nervous. I keep doing that thing where my mind tells me I’m doing everything wrong and I psyche myself out. I’ll try to film the second video today. Until then, here’s the link to the first video: https://youtu.be/58f4hh0LGMw
The basics
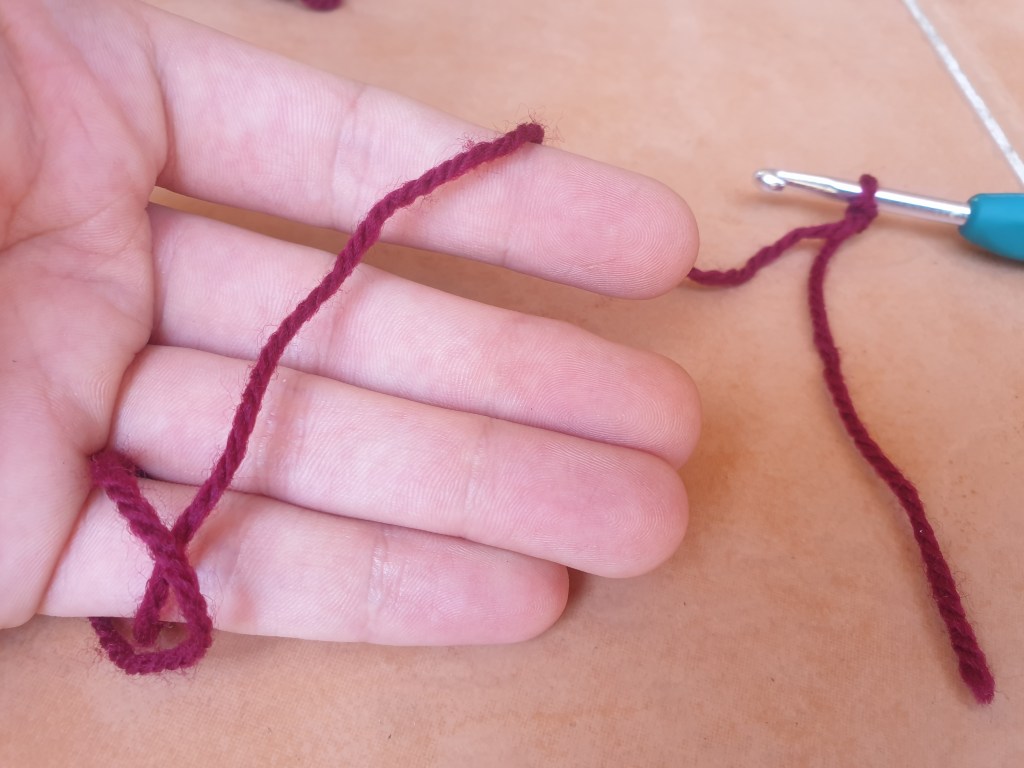
1. Make a slip knot
The easiest way to do it is with your crochet hook in your hand. Wrap the yarn around your fingers and pull the yarn from the ball through the loop you made around your fingers.
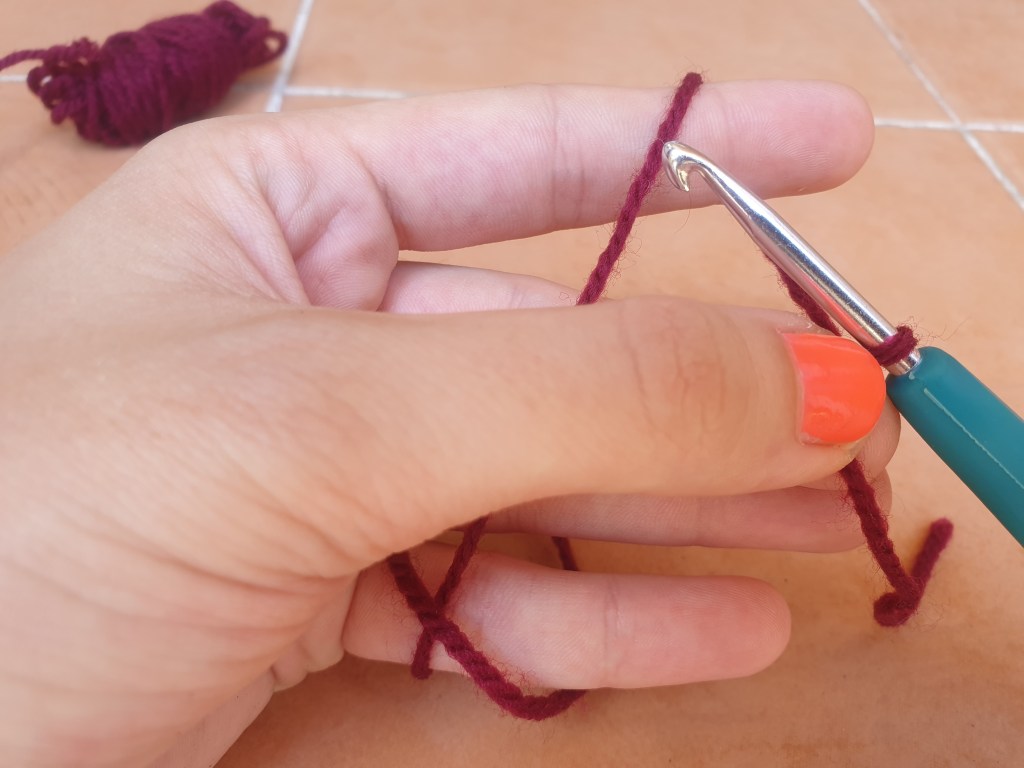
2. Holding the yarn
Keeping the tension is important if you want even sized stitches. Wrap the yarn around your pinky and then around your forefinger of the non dominant hand.
Using your thumb and middle finger hold your work close to the hook to keep it steady.
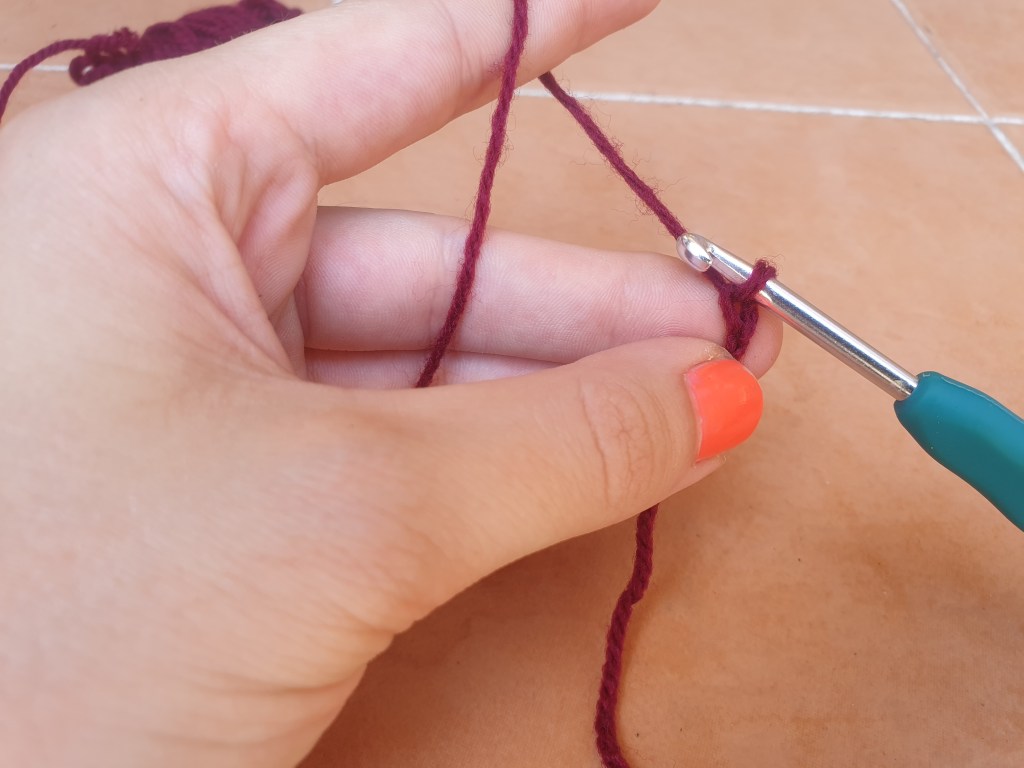
3. Yarn round hook
Wrapping the yarn around the hook in a consistent direction will produce consistent stitches. Unless otherwise stated in the pattern the yarn will always go behind the hook then wrap around and you pull it through the loop.

4. Pull up a loop
Pull the yarn through the loop on the hook.
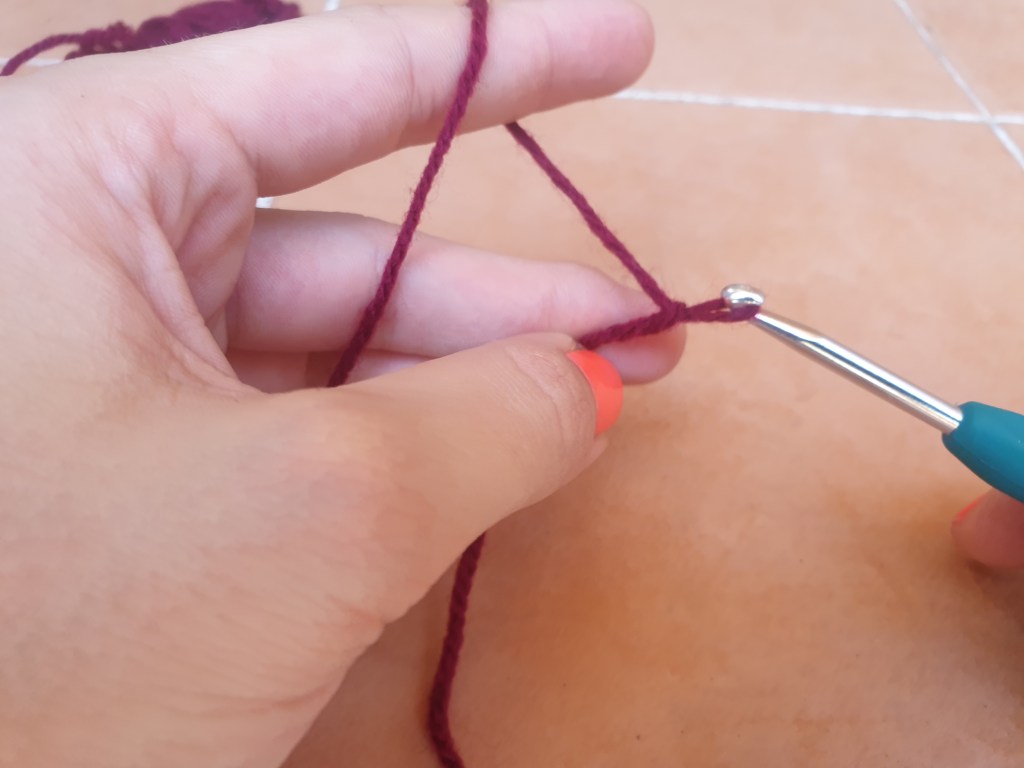
One chain stitch is done.

5. Identifying parts of the chain.
Find the v-shaped stitches. Each v is a chain stitch as viewed from the top. There are 3 parts to a chain stitch and you can use the different parts to create certain edges at the beginning of the work. Just remember to always crochet into the same part of the chain stitch the entire way through otherwise the chain will end up bumpy and uneven. Also remember the loop on the hook isn’t a stitch yet. Your chains are the stitches next to that loop on the hook.

Note that the initial slip knot does not count as a stitch in crochet. Pull this knot tight and don’t work into it. (This can get confusing for knitters as knitted work always uses the slip knot as a stitch!)
Thanks so much for reading, as always. I’ll be uploading the next video tonight so you can learn how to crochet into a row. Pretty please like this and subscribe to my YouTube channel queeenvk (with 3 e’s.)
