Watch me explain this blog post on YouTube
You don’t eat while you’re sleeping, and a period of not eating is called a fast. Breakfast is the most important meal of the day because you’re breaking your fast (hence the name). What you choose to break your fast with is quite important for the optimal function of different organs in your body.
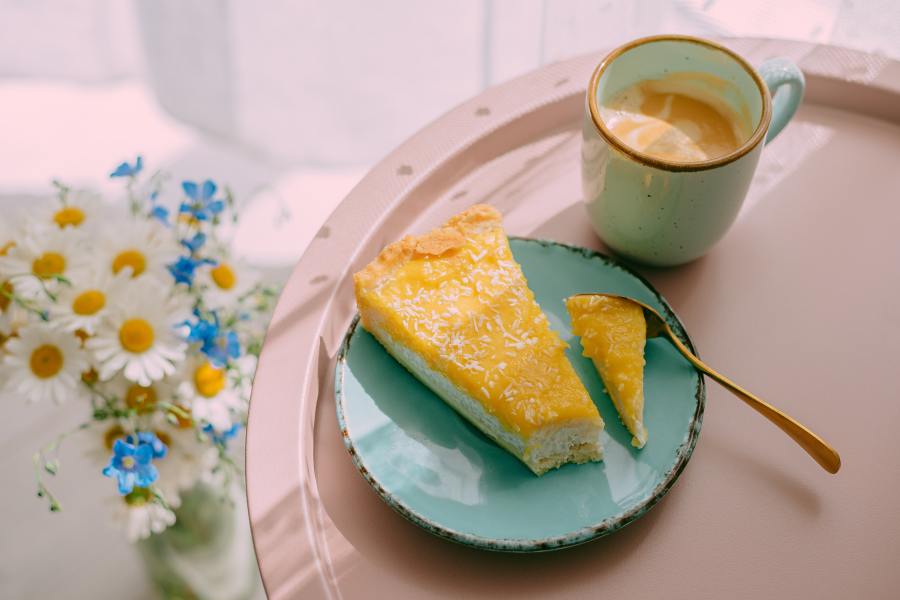
One scientific study has shown the best time to eat cake is WITH breakfast but it should not be the only thing you consume to break your fast at the beginning of a new day. For optimal health, consume a mixture of healthy fats and protein to feed your body and brain after a fast.
The Brain Consumes Sugar
Your brain uses sugar for energy to do its important work: constantly firing neurons to transfer signals between different organs throughout the body. The brain needs a lot of glucose (fancy chemistry word for a simple sugar molecule) to function and those sugar molecules come from what we eat. What you choose to feed your body and your brain does affect the way your body functions. However, the brain doesn’t need you to feed it simple sugar molecules directly, no! That is the last thing it needs. It might want sweet, sweet simple sugars but our body needs complex sugar molecules. Craving sugar is a want verses a need. Build the foundation properly so that you won’t crumble and fall with disease. All of the organs in your digestive system work together to convert the complex sugars (such as carbohydrates) into simple sugars (glucose) and then distribute them around the body as required. So you don’t really need to eat simple sugars, they are just a rare treat. Sweets are a sometimes food, as Cookie Monster says. (If you have a psychological attachment to certain foods then it is important to also do some other types of brain training for your mental health and understand the why behind your food addiction. The brain is powerful on so many levels and we can harness it whichever way we want: towards health or away from health).
A healthy habit to start with
If you’re not yet in the habit of eating food within the first hour of waking then listen up! Here are a couple of reasons WHY you want to eat breakfast (to start your motivation and mindset for this new habit): Firstly, your brain is impaired when it’s hungry (think of how “hangry” you act if you skip a meal) and your decision-making skills are different, even without you noticing This applies to both food and non-food related decisions. My favourite example is the Hungry judge effect: The judge grants parole for more people right after morning tea and lunchtime, but no parole for people right before lunch. Imagine, you don’t even know that you’re making bad decisions while driving to work or selecting a snack before lunch. Secondly, you want to avoid blood sugar spikes because this puts extra wear and tear on your poor little pancreas. Your pancreas regulates the concentration of sugar in your blood so that the sugar does not harm your organs. When you eat too much sugar, especially first thing in the morning, you’re overloading your pancreas with hard work. Eventually, the pancreas can fail which leads to the disease we all know as diabetes.
How to start a new healthy habit: Hack your brain by doing the same thing consistently. The important part is the consistency because your brain likes to follow the same path. It’s easier to travel the same known path over and over. Think of your brain as a muscle that you’re going to train. Your brain training every morning is to select an optimal breakfast that will set you up for the day. Picture yourself in the future, it is tomorrow morning. You want to make good decisions for your life and your health. The night before, you arranged your breakfast ingredients front and centre in the fridge to remind your sleepy morning brain. The ham, cheese and tomato are ready and waiting. (Now, don’t forget to pre-heat the grill!) Slice the ingredients fresh for optimal flavour, or slice the night before and seal in a container so they don’t dry out, then layer the bread with the ingredients, popping the cheese on top. Slide the open sandwich under the warm grill and set the kettle to boil as you prepare a mug with honey or sugar and a teabag or coffee. By visualising the tasks beforehand, you begin making those pathways in your brain, boosting the ease at which your brain moves along the path. If you do some steps the night before when you have more willpower and energy, then your tired morning-self has less resistance through the pathway. Set yourself up for success. Mindset is everything.
Blood Sugar Concentration Spikes Make You Feel Exhausted
As I mentioned above, your pancreas controls the level of sugar in your blood after you eat food so that the sugar does not damage your organs. When the pancreas is broken or diseased then it can cause negative health effects such as Prediabetes that will quickly get much worse if left untreated. If the pancreas is not regulating the amount of sugar in your blood, the sugar concentration can build up to high levels which makes you feel very tired and sluggish, even when you get enough sleep. Speak to your doctor for more advice on the symptoms of prediabetes because our bodies are so different, each person can have a varied experience.
For a more consistent level of blood sugar, without making your pancreas work for it, you want to select foods that will release sugar more slowly. These are called low GI foods.
What About Fruit For Breakfast?
As with cake, fruit shouldn’t be eaten alone for breakfast. Fruits contain simple sugars called fructose which can cause a rapid increase in your blood sugar concentration. Fruit by itself is not a complete meal. It’s more of a snack or a side dish alone, or a great ingredient with yoghurt and pumpkin seeds. Eat a variety of different coloured foods to ensure you’re consuming a larger range of vitamins and minerals which are important for all of your organs.
Your turn to share
Have you experienced bad decision making when you’re hungry or hangry? Would you like to share your morning breakfast routine? Feel free to comment below and share with The Full Cup Wellness community. Let’s help each other. 🙂