

Continuing on our journey to learn a new skill and practise mindfulness at the same time; it’s part 3 of the crochet tutorial series, how to crochet in a circle. Instead of crocheting rows as we previously learned in parts 1 and 2, we are now going to crochet in rounds.
See the video version of this tutorial at my YouTube channel.
Why would you need to know how to crochet in circles?
By learning how to crochet in the round you’ll be able to make circular baskets, amigurumi (crocheted toys), hats, beanies, round pillows etc etc etc. There are many crochet patterns that you will encounter which involve crocheting in the round instead of in rows.
There are two methods to begin a crochet circle.
Method 1: Chain circle
I call this the chain circle method because you make the circle by joining the 2 ends of a row of chain stitches together. Let me show you how.
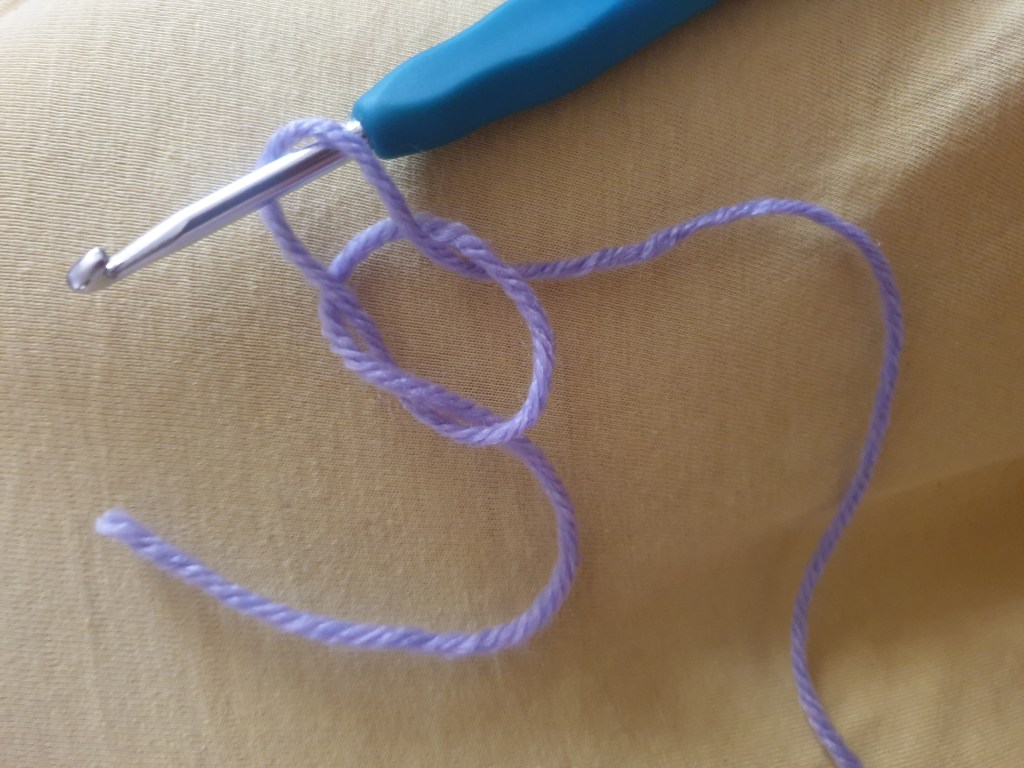
Begin with a slip knot on your crochet hook. Remember: this doesn’t count as a stitch.
The pattern you are working from will tell you how many stitches to use to make the circle, unless it uses method 2 below. If you’re not using a pattern you can decide how many chain stitches you want to use depending on how many stitches need to fit in the circle. Let’s say you need 6 single crochet stitches to fit in your little chain circle. I would chain 3 then join the circle with a slip stitch in the first chain, see image below.
Then you can crochet into the circle you made. I put six single crochet (US terminology) stitches into my chain circle, see image below. I haven’t joined this round with a slip stitch. The pattern that you’re working from will state whether the rounds are joined with a slip stitch or not. If they are not joined rounds then you get a spiral instead of concentric circles.
Tip: As a beginner, I sometimes mistake the initial slip knot as a stitch but we need to remember not to crochet into this loop! Join your circle in the first chain stitch and you can definitely see which is the first chain by using a stitch marker. Examples of stitch markers that I have are in the picture below. You can also use a short piece of yarn that is a different colour to your work in the stitch you want to mark.

New stitch alert
I mentioned the slip stitch in the previous section but I haven’t yet shown you how to do it! The slip stitch is the shortest stitch you can make, it’s even shorter than a single crochet stitch. You do the stitch by entering the next stitch, yarn round front of the hook as normal, then pull the yarn all the way through all of the loops on the stitch. Done!
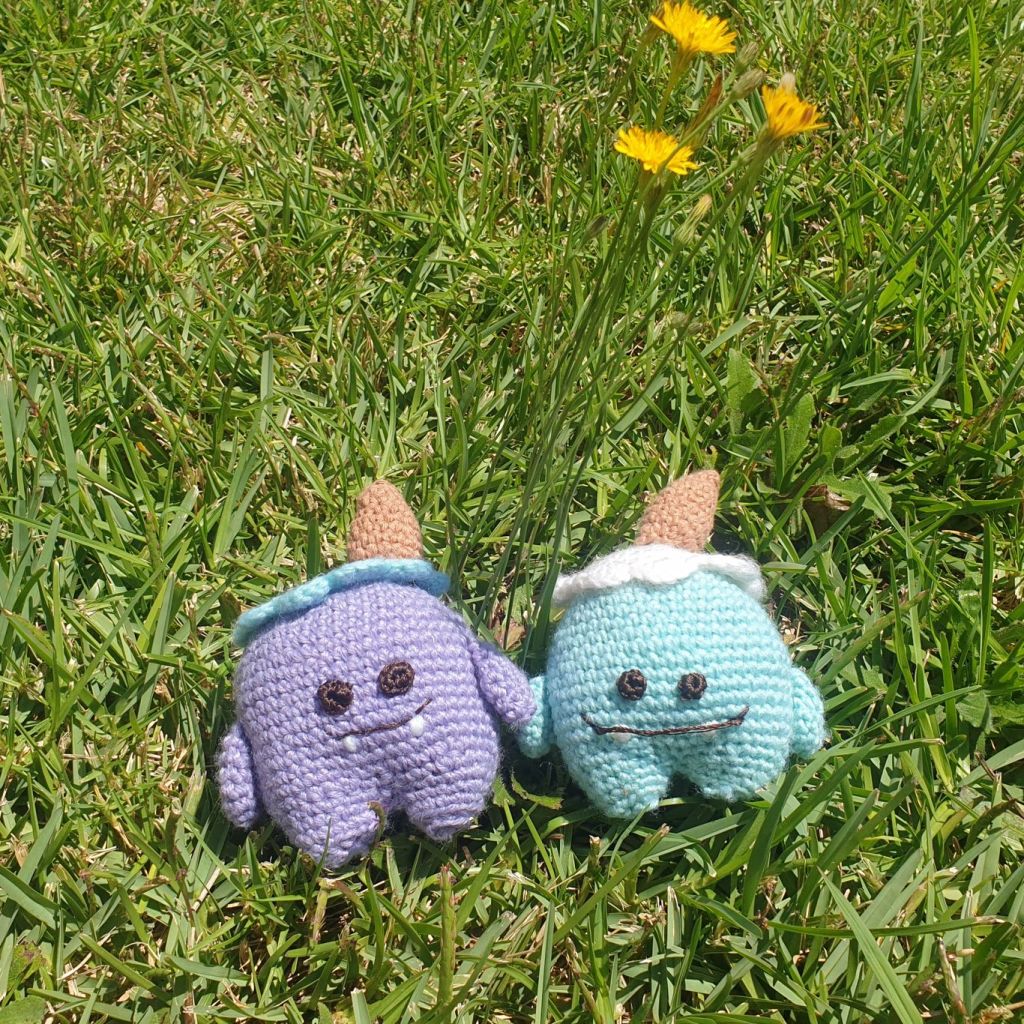
Method 2: Magic circle
Begin by almost making a slip knot. What I mean is that you leave the knot loose instead of pulling the yarn close to the hook. See the picture below for reference.
Now you seal the magic circle by making one chain stitch. See the picture below!

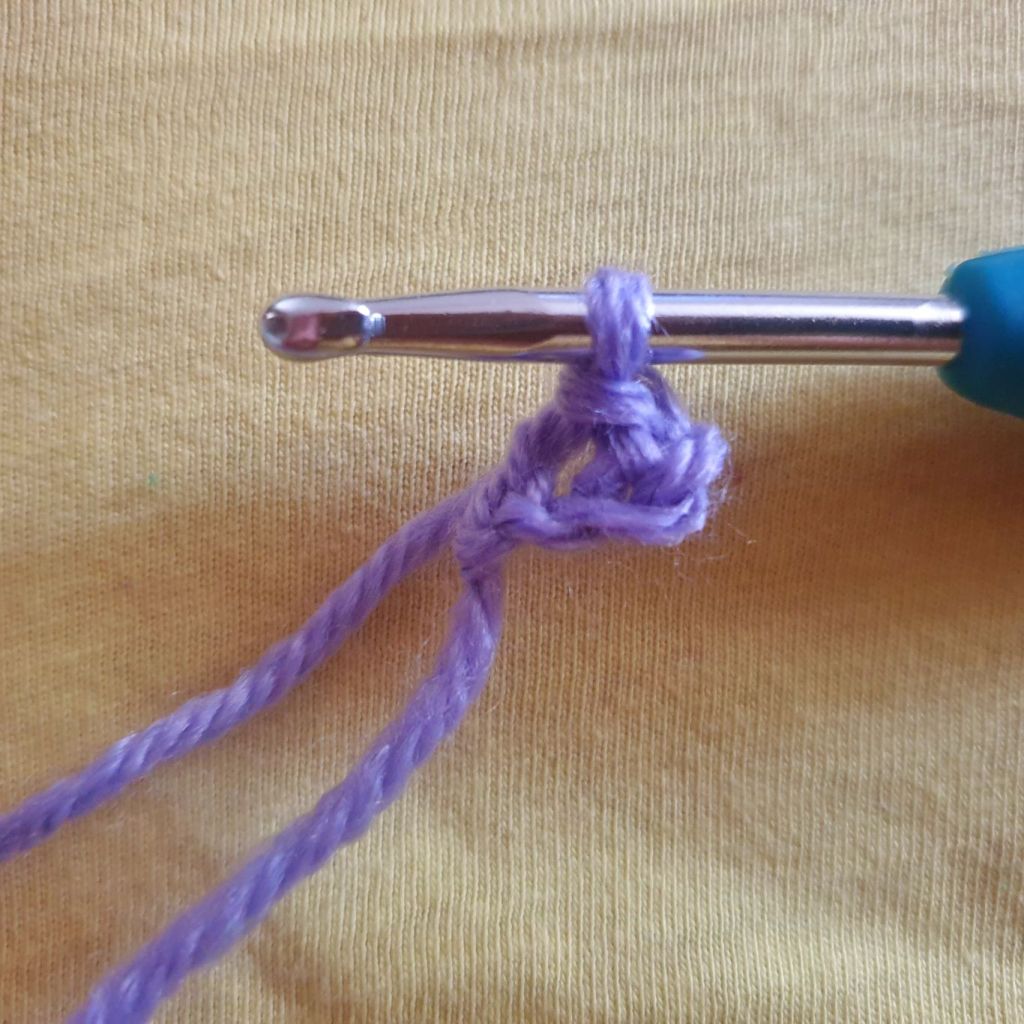
The stitches that are going into the magic circle are called “round one” of the project. If you need to do single crochet (sc) stitches (US terminology) in round 1 then you only need one chain stitch to begin your work. This is because one sc is the height of one chain stitch. Follow the rules for the number of chains you need for a turning chain as mentioned in part 2 of the crochet for absolute beginners tutorial series.
Now you’re going to crochet round 1. In the example below I’ve made 6 sc in the magic circle. The first chain doesn’t count as a stitch in this case.

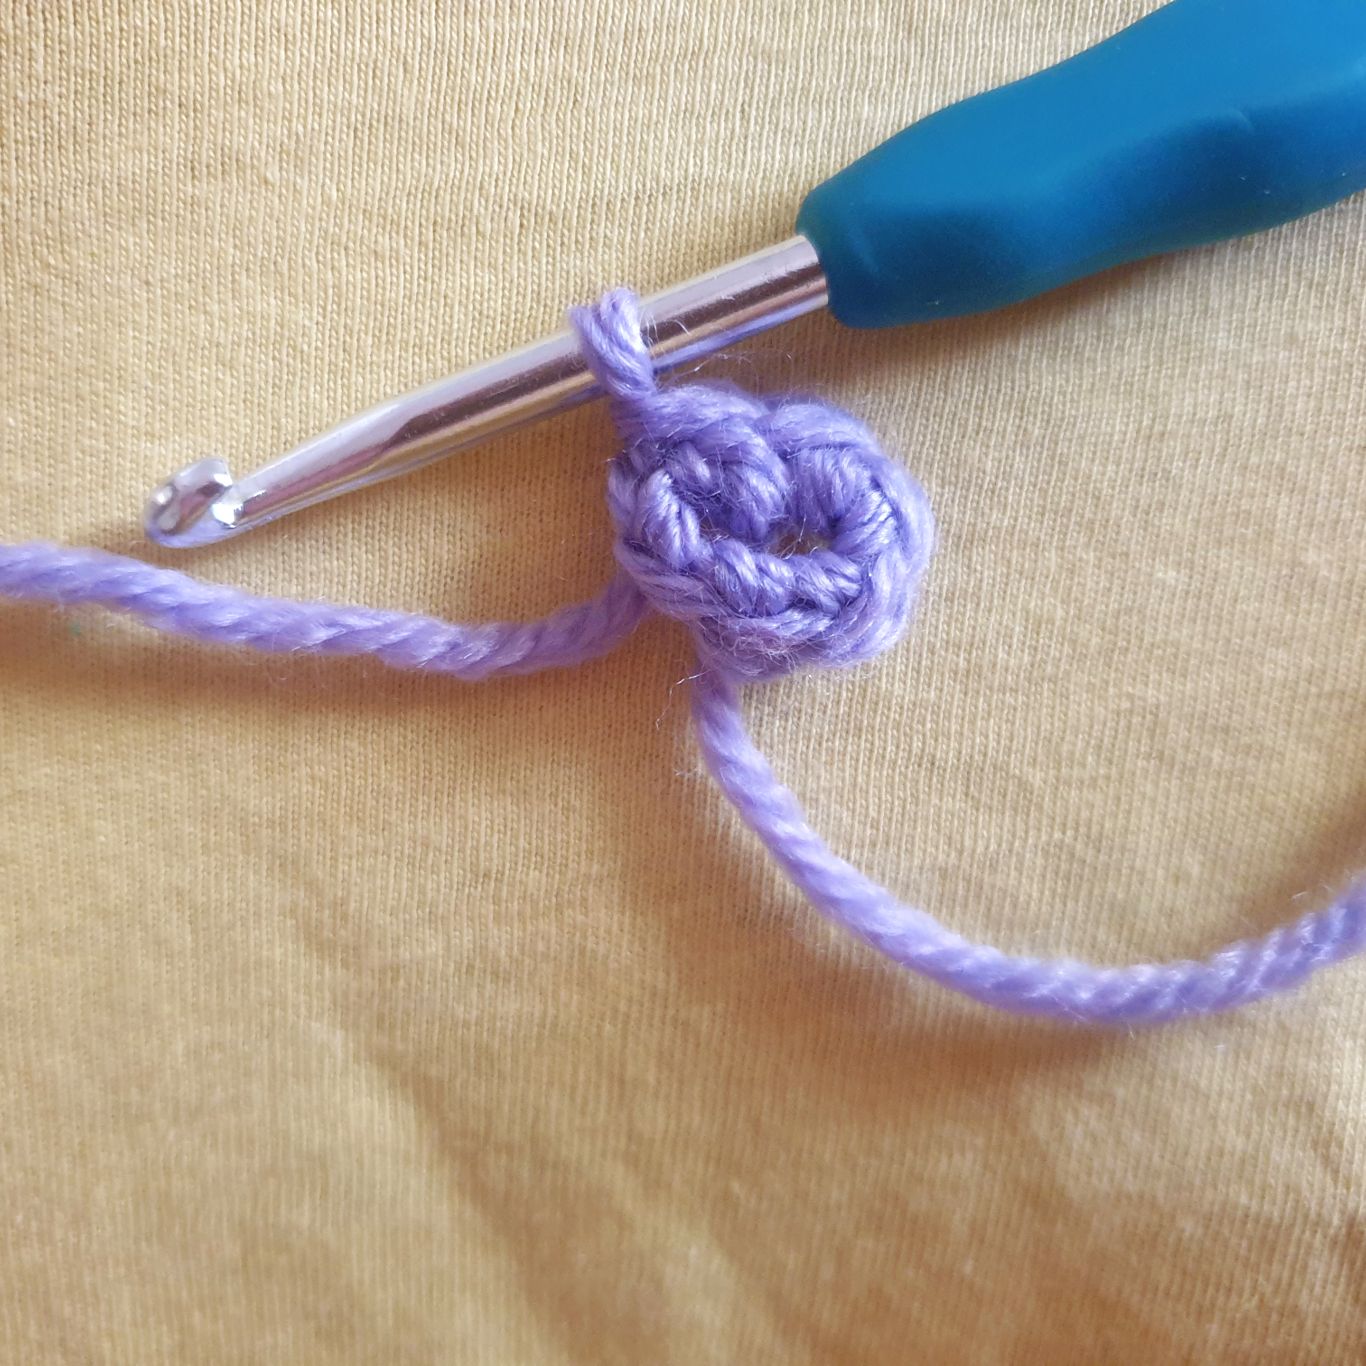
Here’s the part where it becomes a MAGIC circle. Pull the trailing end of the yarn tail until the circle is drawn tight.

Now you can join the circle together with a slip stitch, unless the pattern says not to join the rounds. Below is a picture of the circle joined with a slip stitch.

As you work around the circle the centre will become loose unless you secure the tail of the yarn. There are different ways to do it and I’m not quite perfect at it yet but I’m getting there! Here’s my method for securing that circle tightly: Once you’ve completed your work, or when you’re a little bit of the way through, pull the tail of the yarn as tight so that the magic circle is as small as you need it to be. Then use your crochet hook to weave the tail back and forth through the stitches around those first few rounds of the work.
When you want to make perfectly round circles you will need to pay attention to the the number of stitches you work into each round. If you have too many stitches the circles will become ruffled like a chip because all those extra stitches are trying to fit in a smaller space. If you don’t have enough stitches in the round then the work will become bowed and bowl-shaped as the stitches will pull to make the way around the circle.
There’s a mathematical formula to getting the right number of stitches in each round. I won’t go into it here in this post but stay tuned for more crochet tutorials.
Thanks so much for reading!
Visit my store on Storenvy to purchase some of my crochet creations. More items to be added very soon!
Comment below or email me to request custom coloured ice cream melt monsters. Each individual monster is AUD$25 not including shipping. Extra customisation is available for an additional cost.

